
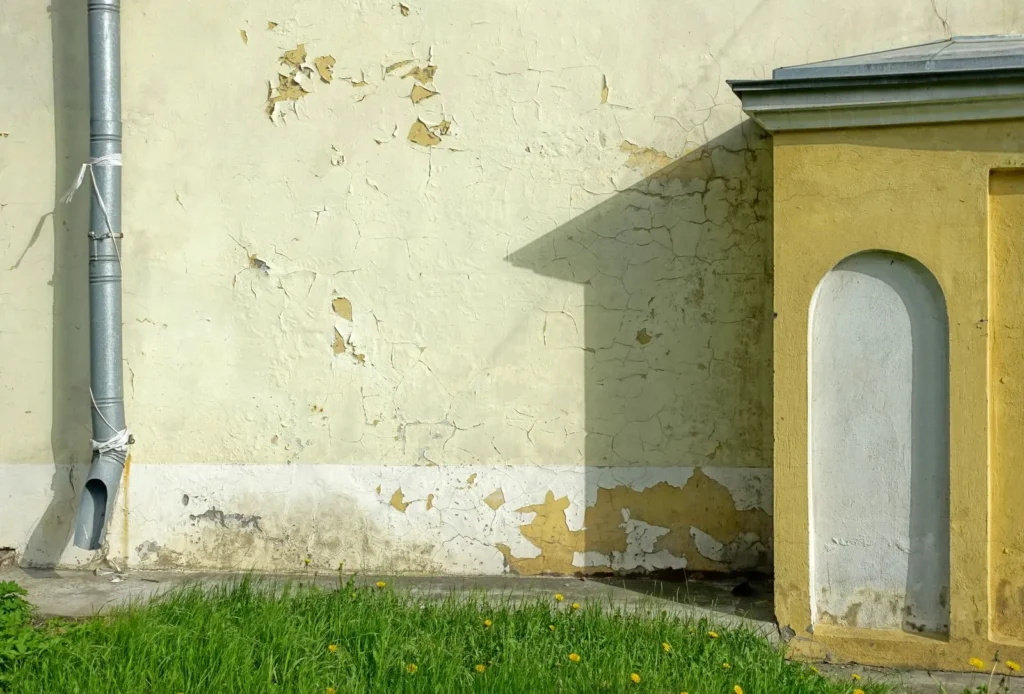
Rising damp is one of the most common defects in Portuguese homes, especially on ground floors and in older buildings. It is also one of the most badly treated: it gets painted over, re-rendered with cement or covered with plasterboard — and a few months later the stain is back, bigger. This guide explains how to recognise it, how to confirm the diagnosis and which solutions actually work.
In short
- What it is: groundwater rising up walls by capillary action, through the pores of the masonry and mortar.
- Typical signs: a damp band at the base of walls with an irregular upper edge, white salts (efflorescence), crumbling render and blistering paint.
- Solution: reduce the water reaching the wall, let the wall breathe and, where needed, install a damp-proof course (chemical or physical).
- Most common mistake: covering it up with cement render or waterproof paint — the damp then rises even higher.
What rising damp is
Traditional building materials — stone, brick, adobe, lime or cement mortars — are porous. When the base of a wall is in contact with damp ground and there is no barrier to interrupt the water’s path (a damp-proof course), water rises through the pores of the material, just as coffee rises up a sugar cube.
The water rises until the amount entering at the base equals the amount evaporating from the wall surfaces. That is why anything that hinders evaporation — cement render, plastic paint, wall panelling, furniture pushed against the wall — makes the damp rise higher.
The water carries salts dissolved from the soil and from the materials themselves. When the water evaporates, the salts crystallise: on the surface they form white, powdery deposits (efflorescence); inside the render (crypto-efflorescence) they expand and break it apart. It is the salts, more than the water, that destroy render and paintwork.
How to recognise it
- A damp or stained band at the base of walls, usually up to about one metre high (it can be higher on thick or heavily sealed walls).
- An irregular, horizontal “tide mark” at the top of the stain, sometimes with a darker line of salts.
- White powder, crystals or “cotton wool” on the surface; blistering paint and render that crumbles to the touch.
- Swollen or rotting timber skirting boards; a musty smell in ground-floor rooms.
- It affects exterior and interior walls on the ground floor (or walls in contact with the ground) all year round, usually getting worse in the rainy season.
Don’t confuse it with condensation or leaks
Many repairs fail because the diagnosis was wrong. Three types of damp can look alike at first sight:
| Rising damp | Condensation | Leaks / penetrating damp | |
|---|---|---|---|
| Where it appears | Base of walls, in a continuous band | Corners, ceilings next to the façade, behind furniture, beams and columns | Localised: around windows, roofs, pipework |
| When | All year round | Mainly in winter | After rain or when there is a leak |
| Salts (white powder) | Very common | Rare | Sometimes |
| Black mould | Not typical | Very typical | Possible |
| Floors affected | Ground floor and basements | Any floor | Any floor (top floor for roofs) |
You can also have more than one cause at once — for example, rising damp in a wall that, being damp and cold, also collects condensation.
How to confirm the diagnosis
- Observation and mapping. Record which walls are affected, how high, whether there are salts and how it changes over the year. Take photos with a scale and date.
- Outside. Check the level of the ground or pavement outside compared with the indoor floor, gutters and downpipes, paving that sends water towards the wall, and flower beds or irrigation against the façade.
- Pipework. Rule out leaks in concealed pipes and drains (pressure test, checking the water meter with everything turned off).
- Measurements. Contact moisture meters are useful for mapping how damp is distributed, but salts distort the readings — use them as an indication, not an absolute value. When in doubt, the real moisture content is determined from samples taken at several heights and depths (gravimetric or calcium carbide method).
Solutions that work
There is no single solution. The right strategy usually combines several measures, in this order:
1. Reduce the water reaching the wall
- Make sure gutters and downpipes discharge away from the façade.
- Slope the outside paving to drain water away from the wall.
- Lower the ground against the façade when it is above the indoor floor level.
- Install perimeter drainage (a French drain with geotextile and gravel) when the ground is very wet.
2. Let the wall dry out
- Remove cement render and impermeable paint from the affected area, usually up to about 50 cm above the visible edge of the damp.
- Apply sacrificial or macroporous (dehumidifying) renders, designed to store salts in their pores without breaking down quickly while letting water evaporate.
- Use vapour-permeable finishes (mineral, silicate or lime paints).
- In more serious cases, ventilate the base of the walls (for example with ventilated channels or cavities at floor level) or the void under the ground floor.
3. Install a damp-proof course
- Chemical injection DPC: a horizontal line of holes near the base of the wall, injected with water-repellent products (usually silane/siloxane-based, as a cream or liquid) that make that band of wall repel water. It is the most widely used solution in refurbishment, but its effectiveness depends heavily on the type of wall, hole spacing and workmanship.
- Physical DPC: cutting a slot into the wall section by section and inserting a waterproof membrane or sheet. Very effective, but invasive and only feasible in walls with regular joints that are structurally suitable.
- Electro-osmotic systems: available on the market, but their effectiveness is debated in the technical literature; ask for guarantees and references.
4. Only then, the finishes
A thick wall can take many months to dry out after the cause has been dealt with. Applying final finishes too early is the quickest way to throw money away.
Mistakes that make it worse
- Cement render “to cover the damp”: it stops evaporation and pushes water and salts higher.
- “Anti-damp” or waterproofing paints applied on the inside without treating the cause.
- Fixing plasterboard over the damp wall: it hides the problem and creates the conditions for mould behind it.
- Relying only on a dehumidifier: it lowers air humidity but does not stop water rising from the ground.
When to call in a professional
If the damp reaches timber floors or beams, if the masonry is badly deteriorated or if the cause is not obvious, a technical diagnosis avoids spending money on the wrong solution. In older and heritage buildings, choosing materials that are compatible with the original masonry is essential.
References
- Freitas, V. P.; Torres, M. I.; Guimarães, A. S. — Humidade Ascensional (Rising Damp). FEUP Edições, Porto, 2008.
- LNEC — Metodologia de diagnóstico de anomalias devidas à humidade em paredes antigas (Methodology for diagnosing damp-related defects in old walls). Report 115/2008. repositorio.lnec.pt
- University of Porto — Técnicas de tratamento/controlo da humidade ascensional: catálogo (Rising damp treatment and control techniques: a catalogue). repositorio-aberto.up.pt
Got this problem at home?
Socripe carries out an on-site diagnosis and proposes the right repair, with an itemised quote — in English. We work in Sesimbra, Seixal, Setúbal, Almada, Barreiro and Palmela.