
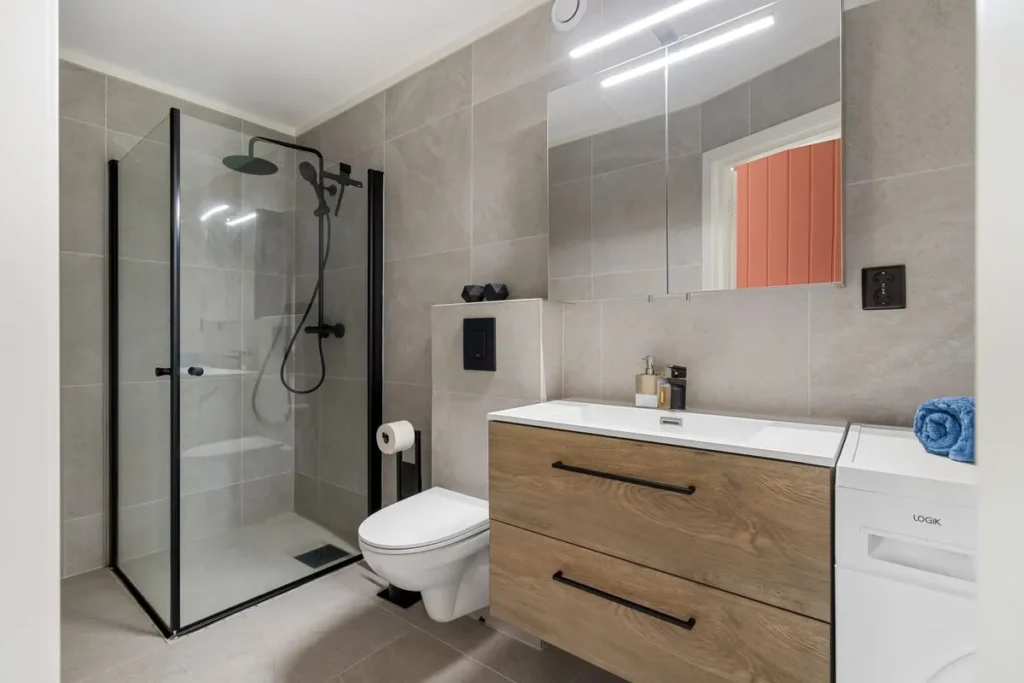
A beautiful bathroom that leaks into the flat below is a failed job. Tiles and grout are not waterproof: water always reaches the substrate eventually. What makes a bathroom watertight is a layer you never see — the waterproofing under the tiles. Here is how it is done properly, and the mistakes we keep seeing on site.
In short
- Tiles and grout do not waterproof: you need a continuous membrane underneath.
- Where: the whole floor, an upstand on the walls, and the shower area up to the ceiling (or at least well above the shower head).
- Critical points: corners, drains, pipes, shower tray, door threshold.
- Test before tiling: a 24–48 hour flood test avoids expensive surprises.
Why tiles are not enough
Cement-based grout is porous and cracks over time; tiles can have micro-cracks and tile adhesive is not a barrier. In a shower used every day, water slowly seeps through and builds up in the substrate. The signs appear late: stains on the neighbour’s ceiling, swollen skirting boards in the hallway, dark grout lines, tiles that sound hollow. By then the tiling almost always has to come up.
Waterproofing systems under tiles
The European standard EN 14891 covers liquid-applied waterproofing products used beneath bonded ceramic tiles. There are three main families, plus sheet membranes:
| System | Characteristics | Typical use |
|---|---|---|
| Flexible cementitious slurry (two-part) | Good bond to substrate and tile adhesive, accommodates small movements | Shower floors and walls, terraces |
| Dispersion membrane (one-part) | Ready to use, quick to apply | Walls and floors of indoor bathrooms |
| Reaction resin (epoxy / polyurethane) | Very tough, also chemically resistant | Demanding areas, spas, commercial kitchens |
| Sheet membrane (polyethylene with fleece) | Controlled thickness, fast to install | Renovations on tight schedules, substrates with small cracks |
Whatever the system, use it complete and from the same manufacturer: primer, membrane, reinforcing tapes, pipe collars, drain connections and a compatible tile adhesive.
How it is done, step by step
- Prepare the substrate: sound, clean, dust-free, cracks treated. On the floor, make sure there is a fall towards the drain (typically 1–2%) before waterproofing.
- Primer, where the system requires it, especially on absorbent or gypsum substrates.
- Reinforcing tape in every wall–floor and wall–wall corner, and at joints between different materials.
- Sealing collars on every pipe coming through the wall (mixer, shower) and a watertight connection to the drain using the proper fitting — this is where many jobs fail.
- Two coats of membrane applied crosswise, respecting the thickness and drying times in the technical data sheet.
- Flood test: plug the drain and keep a layer of water on the floor for 24–48 hours, checking the ceiling below and neighbouring walls.
- Only then lay the tiles with a compatible adhesive (in wet areas, typically class C2) and grout appropriately. In showers, epoxy grout resists water and mould better.
- Seal movement joints with sanitary silicone: corners, junctions with the shower tray or bath, and the floor perimeter.
Where to waterproof
- Floor: the whole area, turning up the walls by about 10–15 cm.
- Shower area: walls up to the ceiling or, at minimum, well above the shower head height, and a little beyond the edge of the screen.
- Bath area: walls above the rim and, ideally, under and behind the bath.
- Door threshold: a detail that stops water reaching the hallway.
Level-access (walk-in) showers
Flush showers with a linear or grate drain look great and are practical, but they demand more precision: a recessed floor, well-executed falls, drains with a membrane flange and flawless waterproofing. In older buildings, recessing the floor may not be possible without touching the slab — it is assessed case by case.
Mistakes we see on site
- Coating only the shower area and forgetting the floor.
- Membrane without corner tapes — it cracks at the first movement.
- Pipes and drains without collars: water goes around the membrane.
- Tiling before the membrane has cured, or without a flood test.
- Mixing products from different brands without checking compatibility.
- Using the membrane as a “patch” over old tiles without preparation.
References
- EN 14891 — Liquid-applied water-impermeable products for use beneath ceramic tiling bonded with adhesives — Requirements, test methods, assessment and verification of constancy of performance, classification and marking.
- EN 12004 — Adhesives for ceramic tiles — Requirements, assessment and verification of constancy of performance, classification and marking.
- EN 13888 — Grout for ceramic tiles — Requirements, assessment and verification of constancy of performance, classification and marking.
Renovating your bathroom?
We waterproof properly — with a flood test before tiling — and show you the finished bathroom in 3D before we start. Quotes in English. We work in Sesimbra, Seixal, Setúbal, Almada, Barreiro and Palmela.